Interior Designers - Stop Fearing Recessed Downlights
High Hats, can lights, pot lights. Many names for the same thing - recessed lighting. Interior Designers with massive social media followings talk about how recessed lighting will kill your designs. They sit in front of the camera with a flashlight over their head to show how downward lighting makes you look like a supervillain.
I submit that if you hate recessed lighting, it’s because you’ve only seen terrible recessed lights, and they are usually laid out poorly. I did a whole video on wafer downlights (the most common LED choice these days) and spec-grade downlights. Flat wafer downlights are a top choice of builders because they are cheap, plentiful and easy to install. They can literally leave the lights to the last minute and still pop them in the ceiling. The problem is...they are terrible in every other respect.
If you hate downlights, it’s likely because:
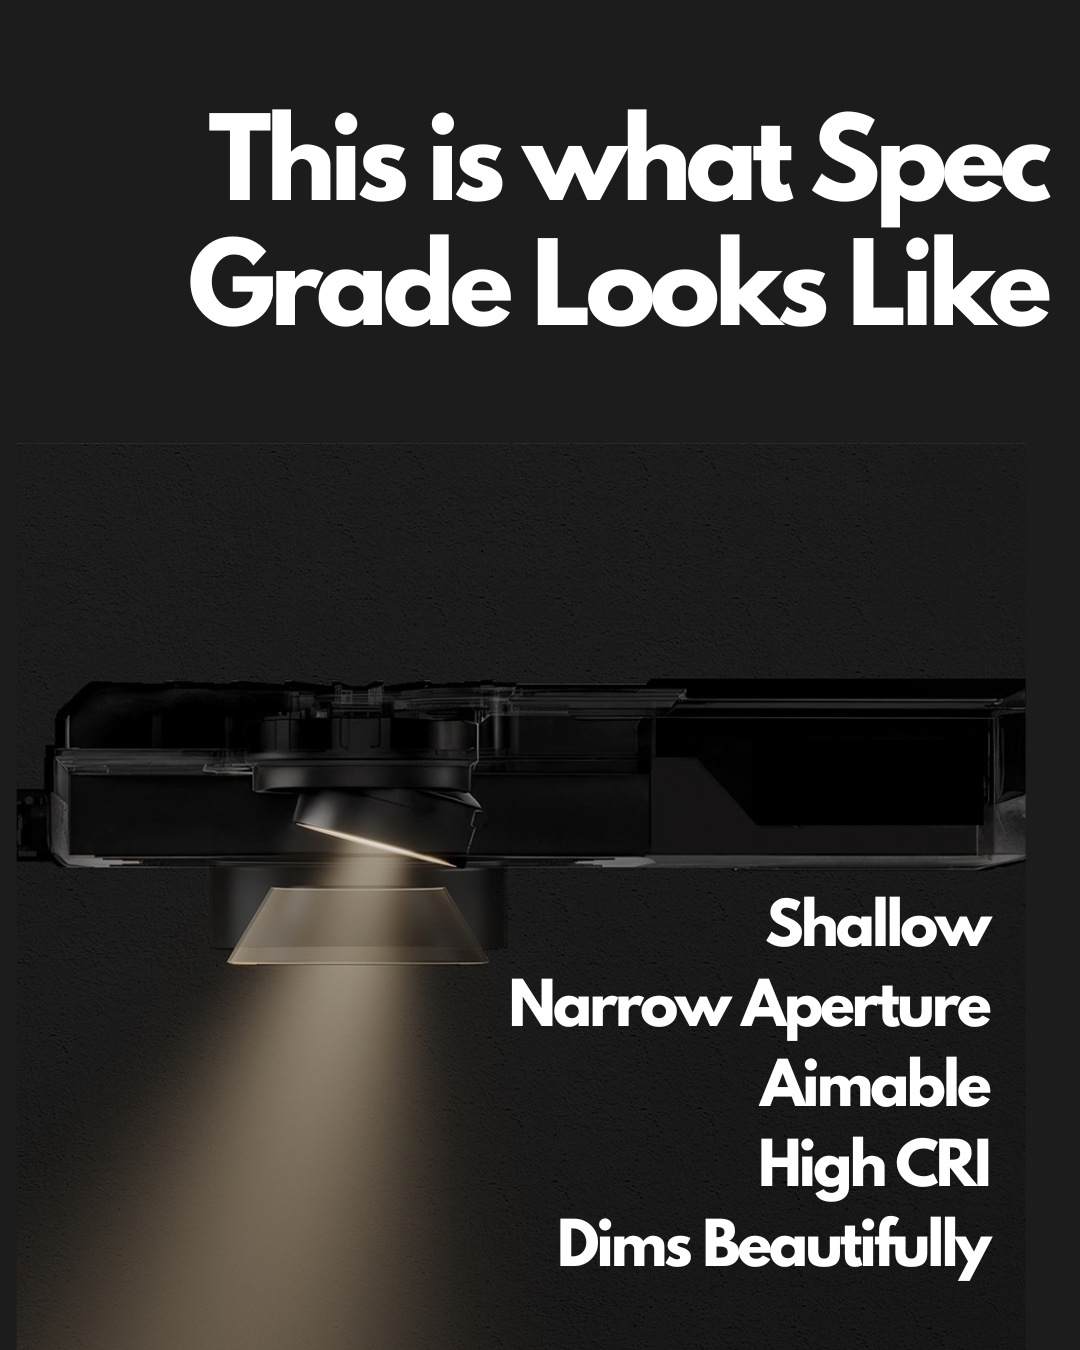
They are too big - larger than 4” in aperture.
They produce too much glare - because the LEDs are too close to the ceiling opening, creating bright hot spots in the ceiling.
They aren’t shielded. No lensing, no louvers, nothing to mitigate the light coming out of the ceiling.
They are fixed in a down position. The power of recessed lighting is its ability not just to light straight down but to accent features of the room.
They dim poorly.
Here are some pro tips for choosing recessed downlights.
3” apertures are the largest I recommend in residential settings. 2” Is getting more common; even 1” recessed lights can provide adequate illumination in some applications.
The light source should be regressed up into the cone of the ceiling. When you look at the ceiling plane from the floor, the light source should essentially disappear.
Piggybacking on the last point, depending on where and how they are being used. You want to be able to add at least one focusing accessory, such as a lens or a louver.
Adjustable always. I highly recommend specifying recessed adjustable downlights for residential projects. The thing is, furniture moves. Art and photos can come down and move around a home. Fixed downlights are locked in; adjustable accent lights allow you to put the light where you need it.
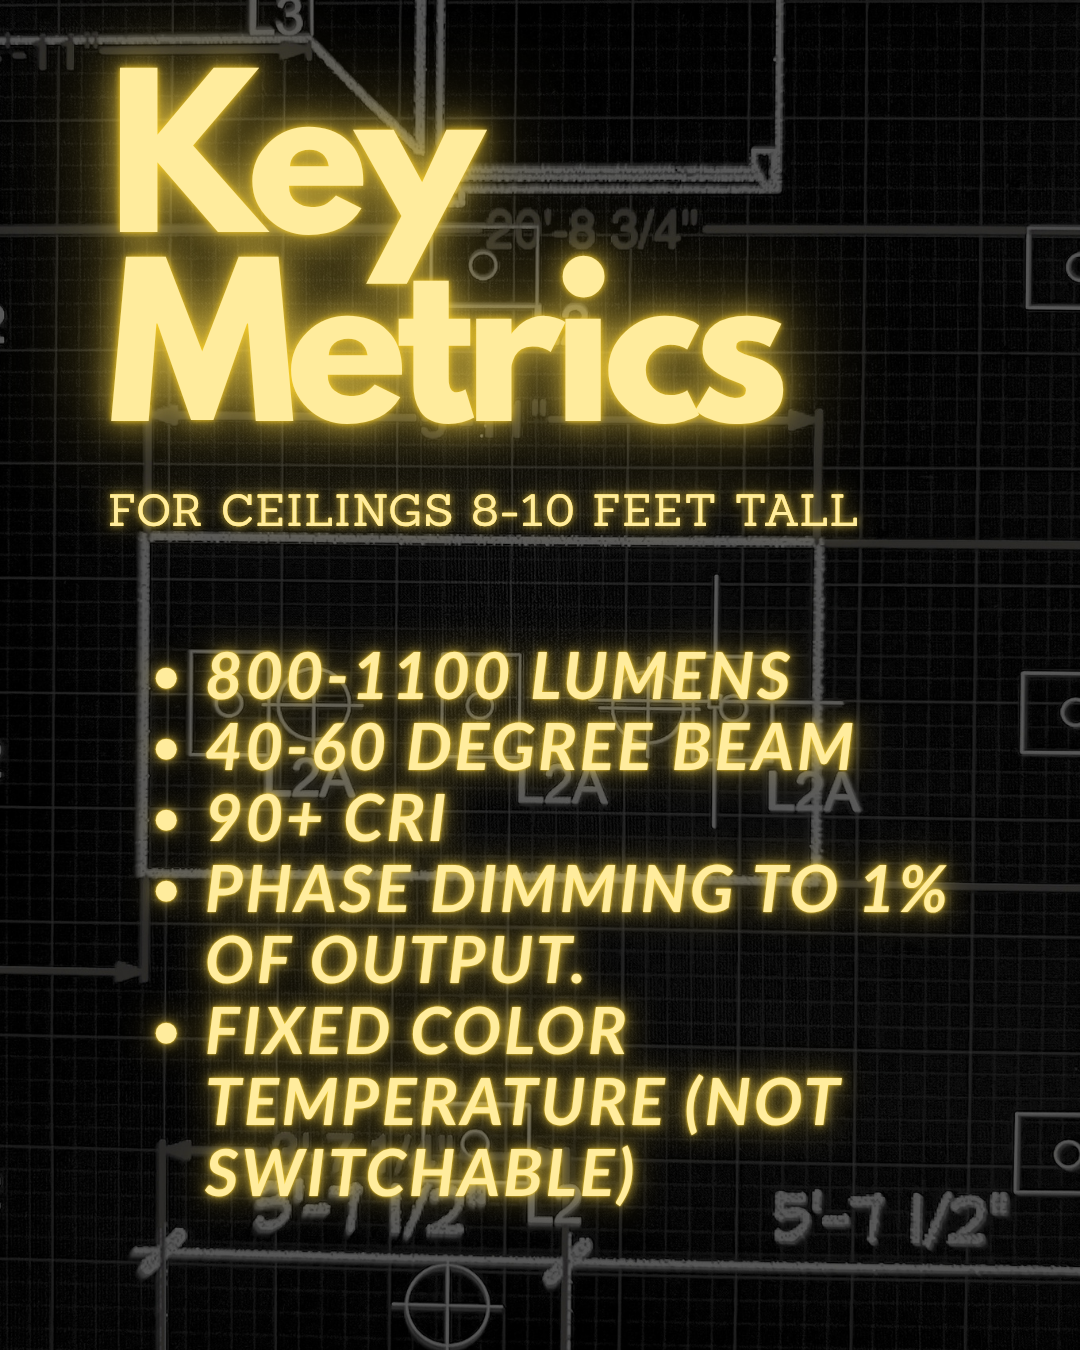
People often ask me what they should specify for recessed lighting. The answer is, “it depends,” but here are a couple of basic specs you can use, assuming an 8- 10 ft ceiling.
800-1100 lumens
40-60 Degree beam
90+ CRI
Phase dimming to 1% of output.
CCT of client’s choice - but make sure it’s a fixed CCT, not one of those switchable guys.
Options to think about...
Mud-in flanges for a seamless look
Warm-Dimming for a close-to-tungsten effect.
When I collaborate with a designer, I like to identify the fixed features and plan recessed accent lighting around them. Examples include kitchen islands, mantles, vanities, feature walls, etc. Generally, if you plan a layout with flexibility in mind, your lights will be adjustable enough to accent tables that shift and make the walls glow when art gets added later.
I am working on a more complete recessed lighting guide because when it comes to residential lighting this tool is probably the most used and least understood. Have any questions you want addressed in the guide? If you want to be the first to know, Sign up for my newsletter at the bottom of this page.