Light and Delicious: A Guide to Layered Kitchen Lighting
One of the most common design questions I get is:
"How do I make the best kitchen lighting possible?"
The trick to any great lighting, whether it's in your kitchen or any other room of the home, is to use layering. Think of this post as your complete guide to creating layered lighting in your kitchen. By layering light correctly, you will create a welcoming setting that illuminates faces, makes food look great, and provides the functionality the kitchen needs in a modern home.
The kitchen is the gathering place of the family. It's the place where food is prepared and eaten together. It's the center of the home, and it should be lit beautifully.
Too often, we see kitchen renovations where homeowners and designers invest heavily in flooring, cabinetry, countertops, backsplashes, and tile work, and then let the contractor choose the architectural lighting. Premium finishes and big investments in your kitchen deserve fantastic architectural lighting that's going to show off all of your other design decisions in the best way possible
In this post, you’ll learn how to use layered kitchen lighting techniques—combining ambient, task, and accent lighting—to transform your kitchen renovation from good to unforgettable.
What Is Layered Lighting in a Kitchen?
Before you choose any fixtures, it’s essential to understand the foundation of great kitchen lighting: layers of light.
Every well-designed kitchen needs these three lighting layers:
Ambient lighting – General illumination for navigating the space
Task lighting – Focused lighting for cooking, prepping, and cleaning
Accent or “sparkle” lighting – Decorative or vertical illumination that creates warmth and interest
There are certainly more lighting layers but not all of them are appropriate to a kitchen. We're focusing on the ones that matter most for this post.
Ambient Lighting: Start with Recessed Downlights
Ambient lighting creates the foundation of your kitchen lighting plan. Your ambient light is what makes the room feel completely visible and easy to navigate. Another way to think of this is as your base layer. Without the essential function, the rest of what you're trying to do won't make sense. In contemporary kitchen design, the most common way to achieve this is with recessed downlights.
Sometimes these are referred to as recessed cans, can lights, or downlights. In architectural lighting, we refer to them as recessed downlights.
These fixtures often get a bad rap because they are too big, too bright, or too numerous for the room. When it comes to recessed down lighting, too much of a good thing is just too much. Here are some tips for using recessed downlights in general and in your kitchen.
Recessed Lighting Tips:
The following assumes a ceiling height of 8’ to 10’.
Light output: 800–1000 lumens per fixture
Aperture Size: 1”-3.5”
Spacing: 3–5 feet apart, adjusted to your room's dimensions
Beam spread: Use a 50° flood for even coverage
Color temperature: Choose 2700K–3000K for a warm, welcoming tone
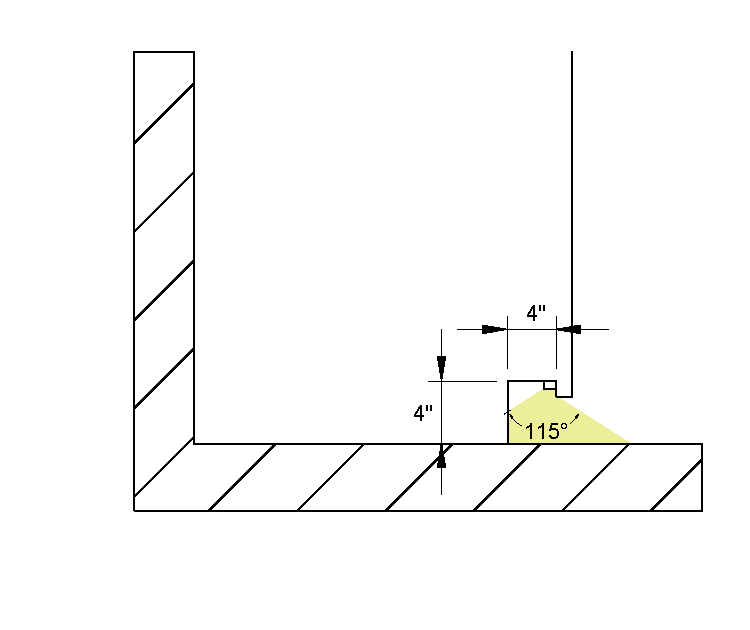
Pro tip: Don’t place recessed lights too close (within 18”) to cabinets or walls. Doing so causes "scalloping"—scoops of light on vertical surfaces. Here’s the one we recommend.

Far too often, the recessed lighting of a new build or renovation is left for the electrician to decide. What usually happens in these scenarios is that they choose something that is low-cost and easy to install, but not necessarily optimal light. We have our own recommendation, which you can purchase through our Build Your Project page.
Once ambient lighting is in place, you’ll be able to move safely and comfortably through the space. But don’t stop there.
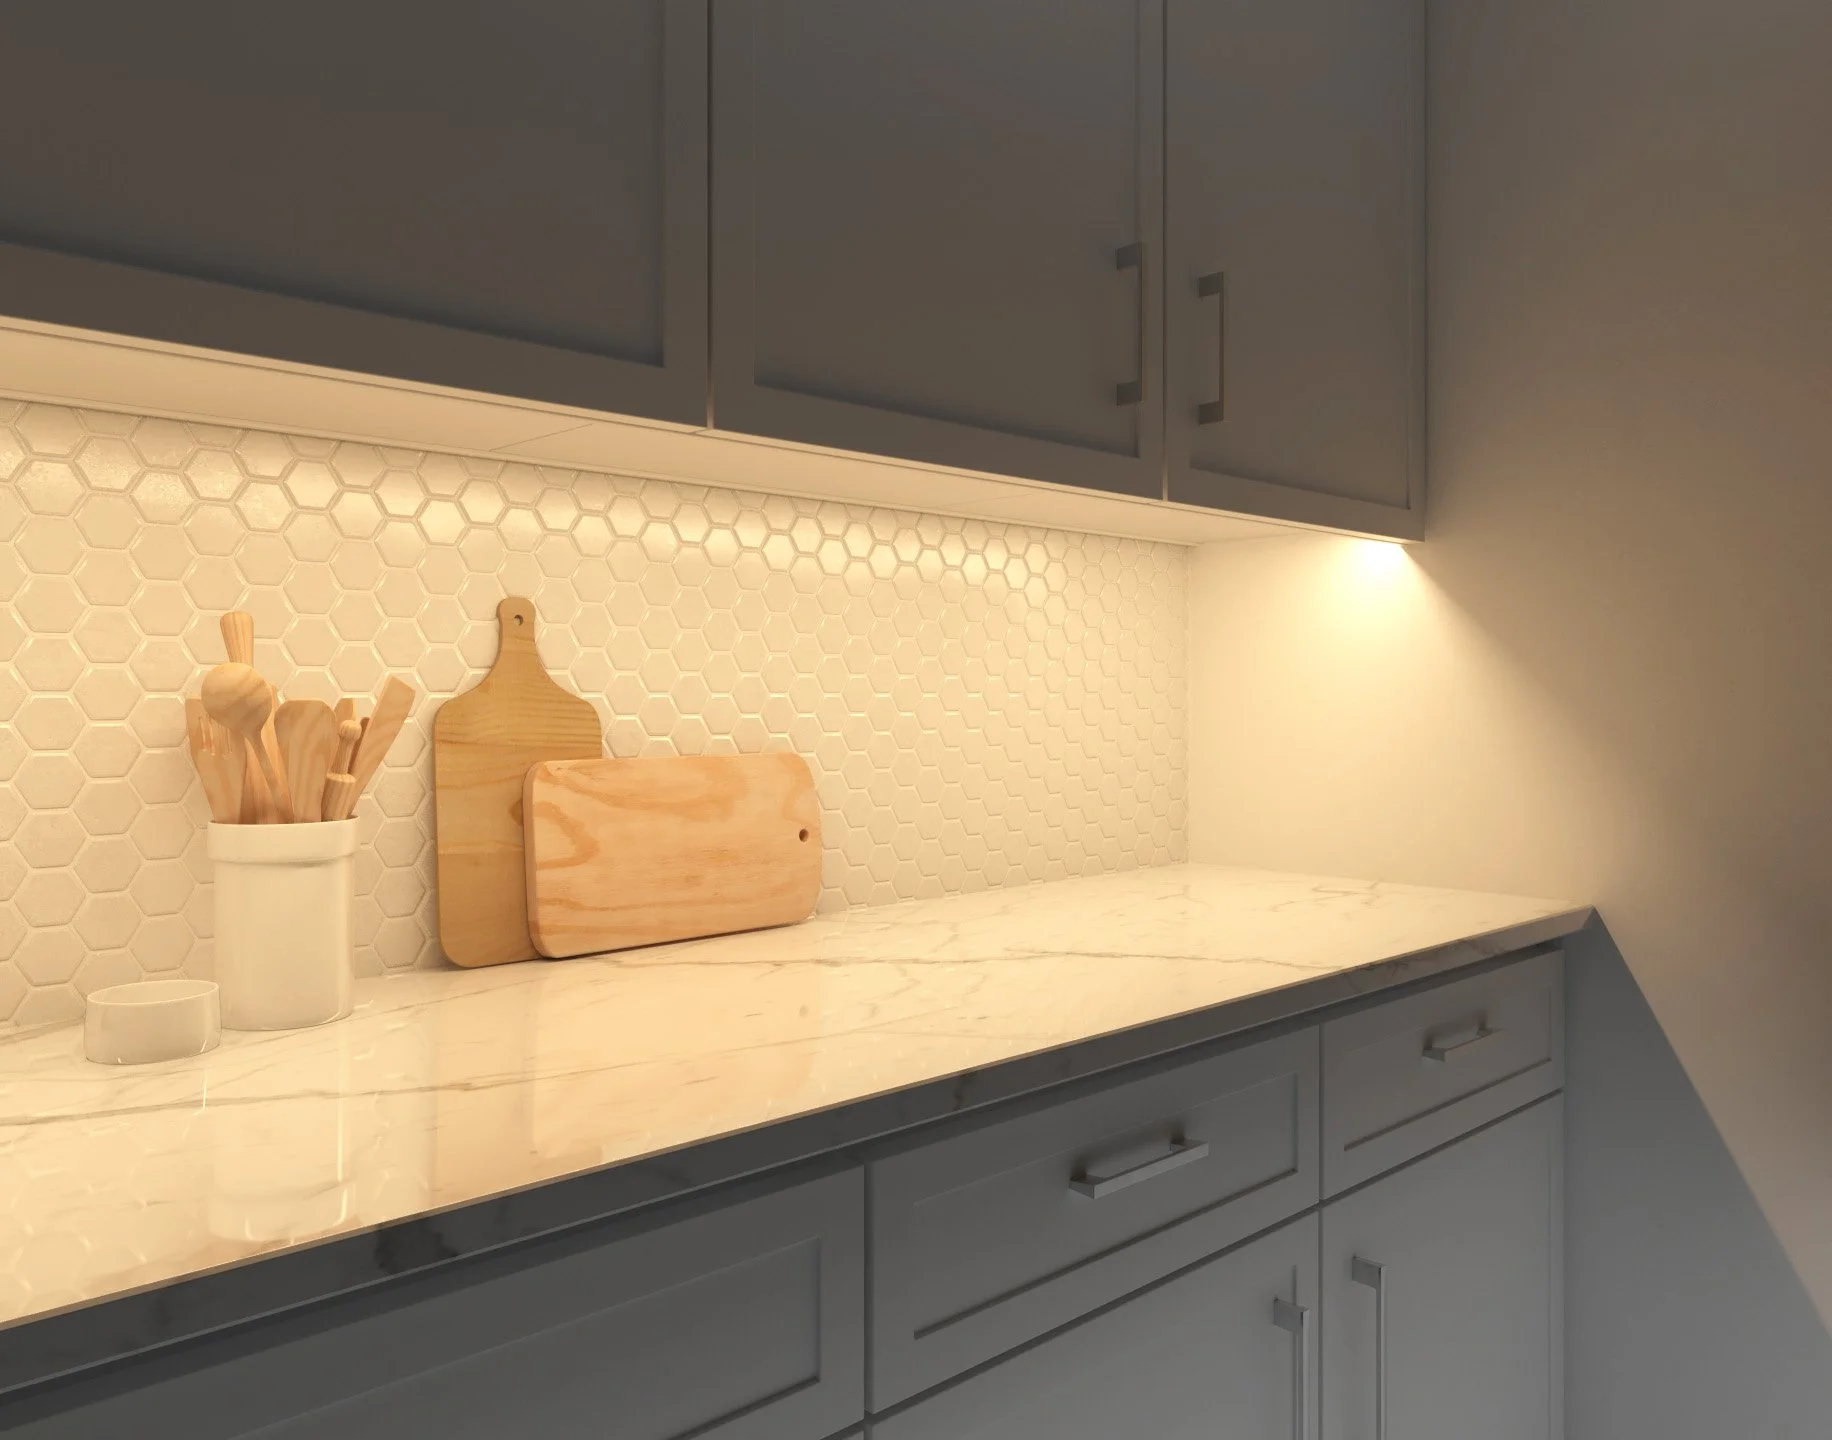
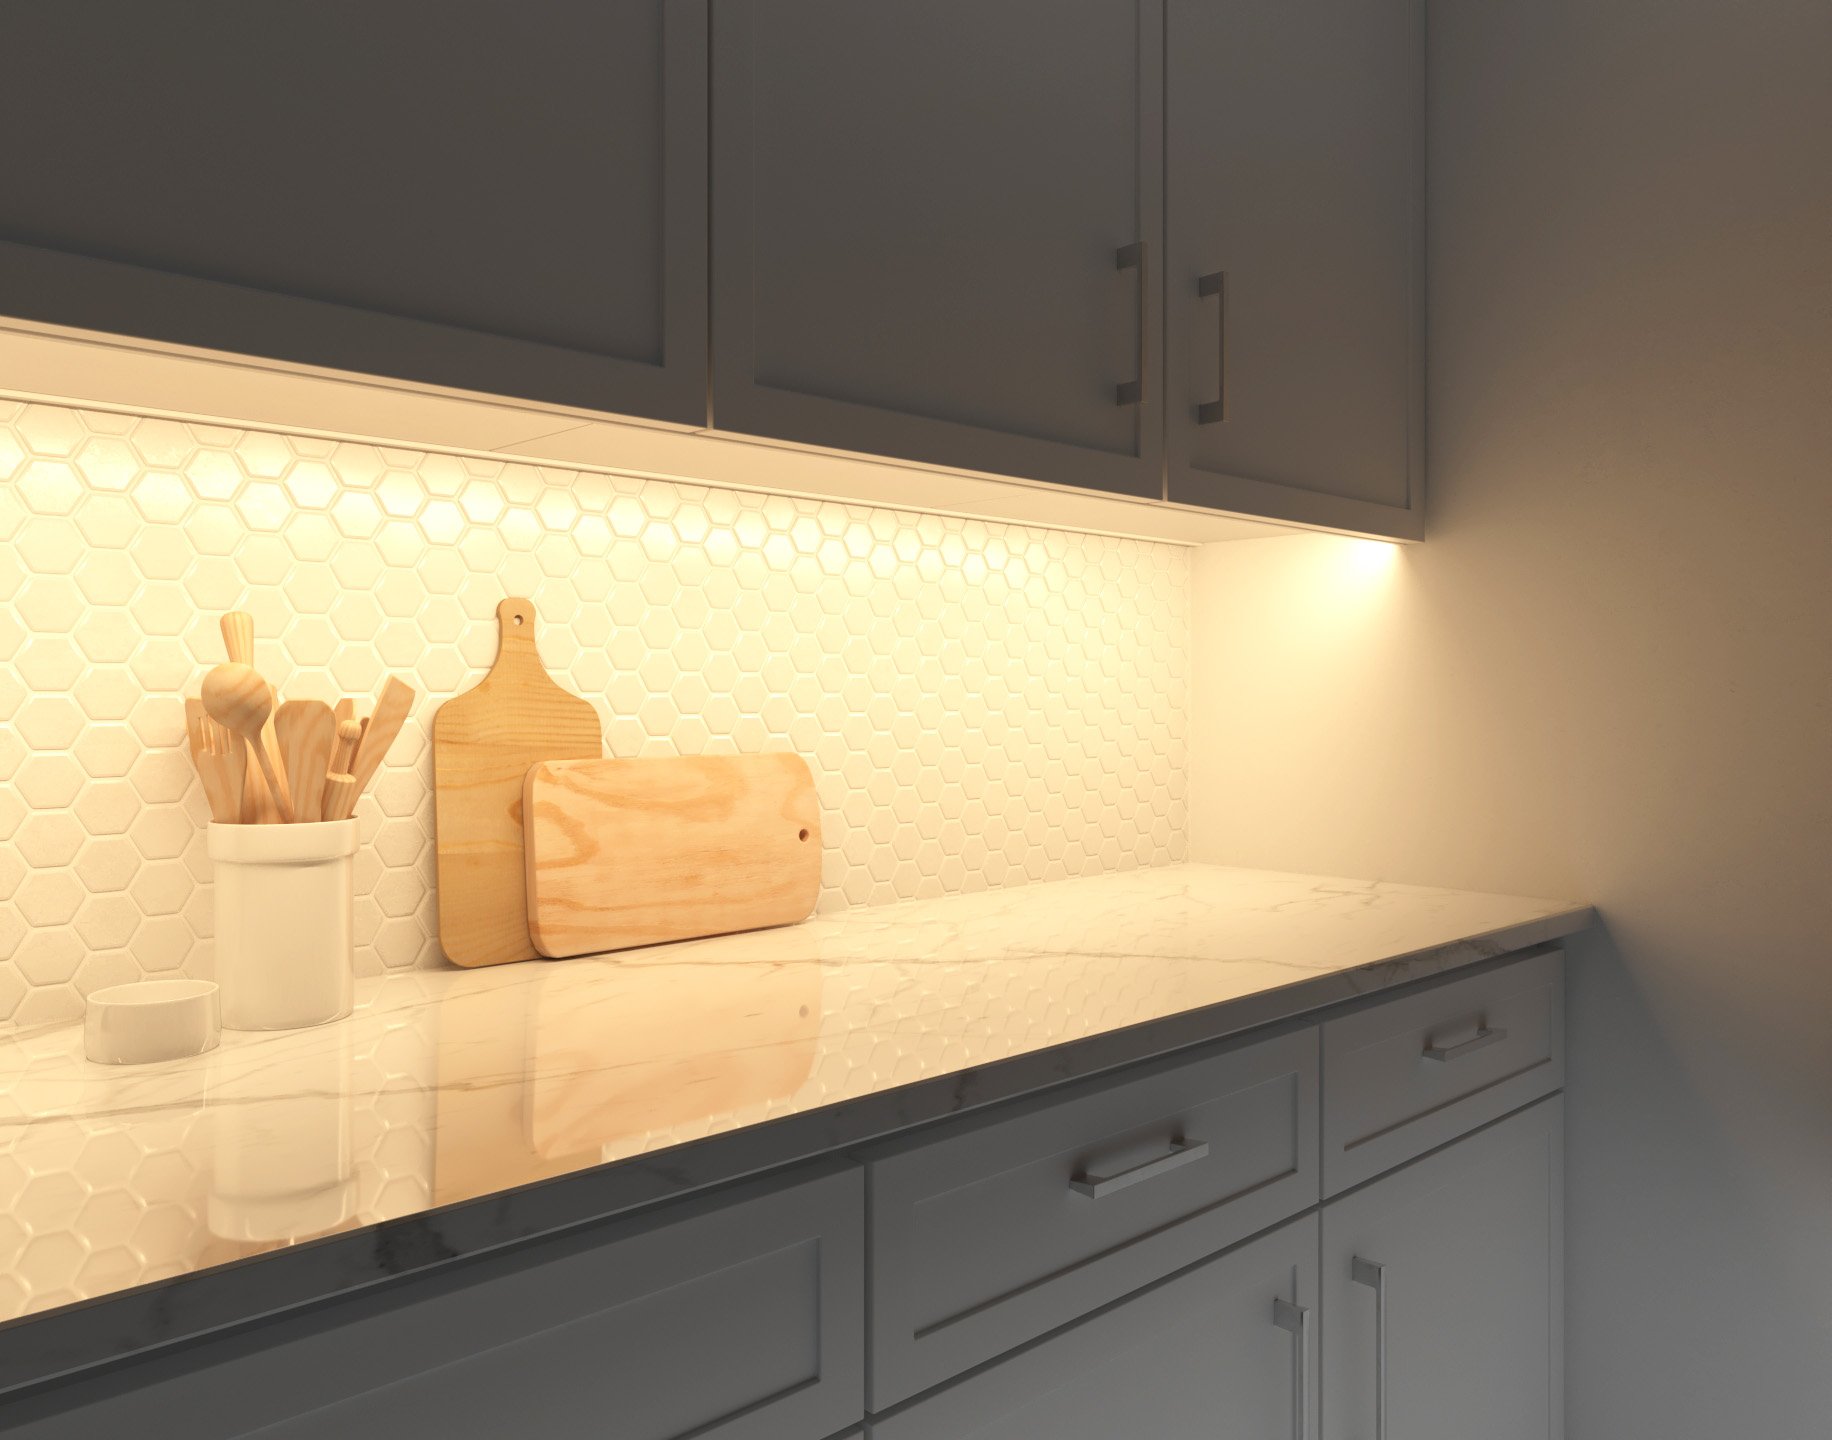
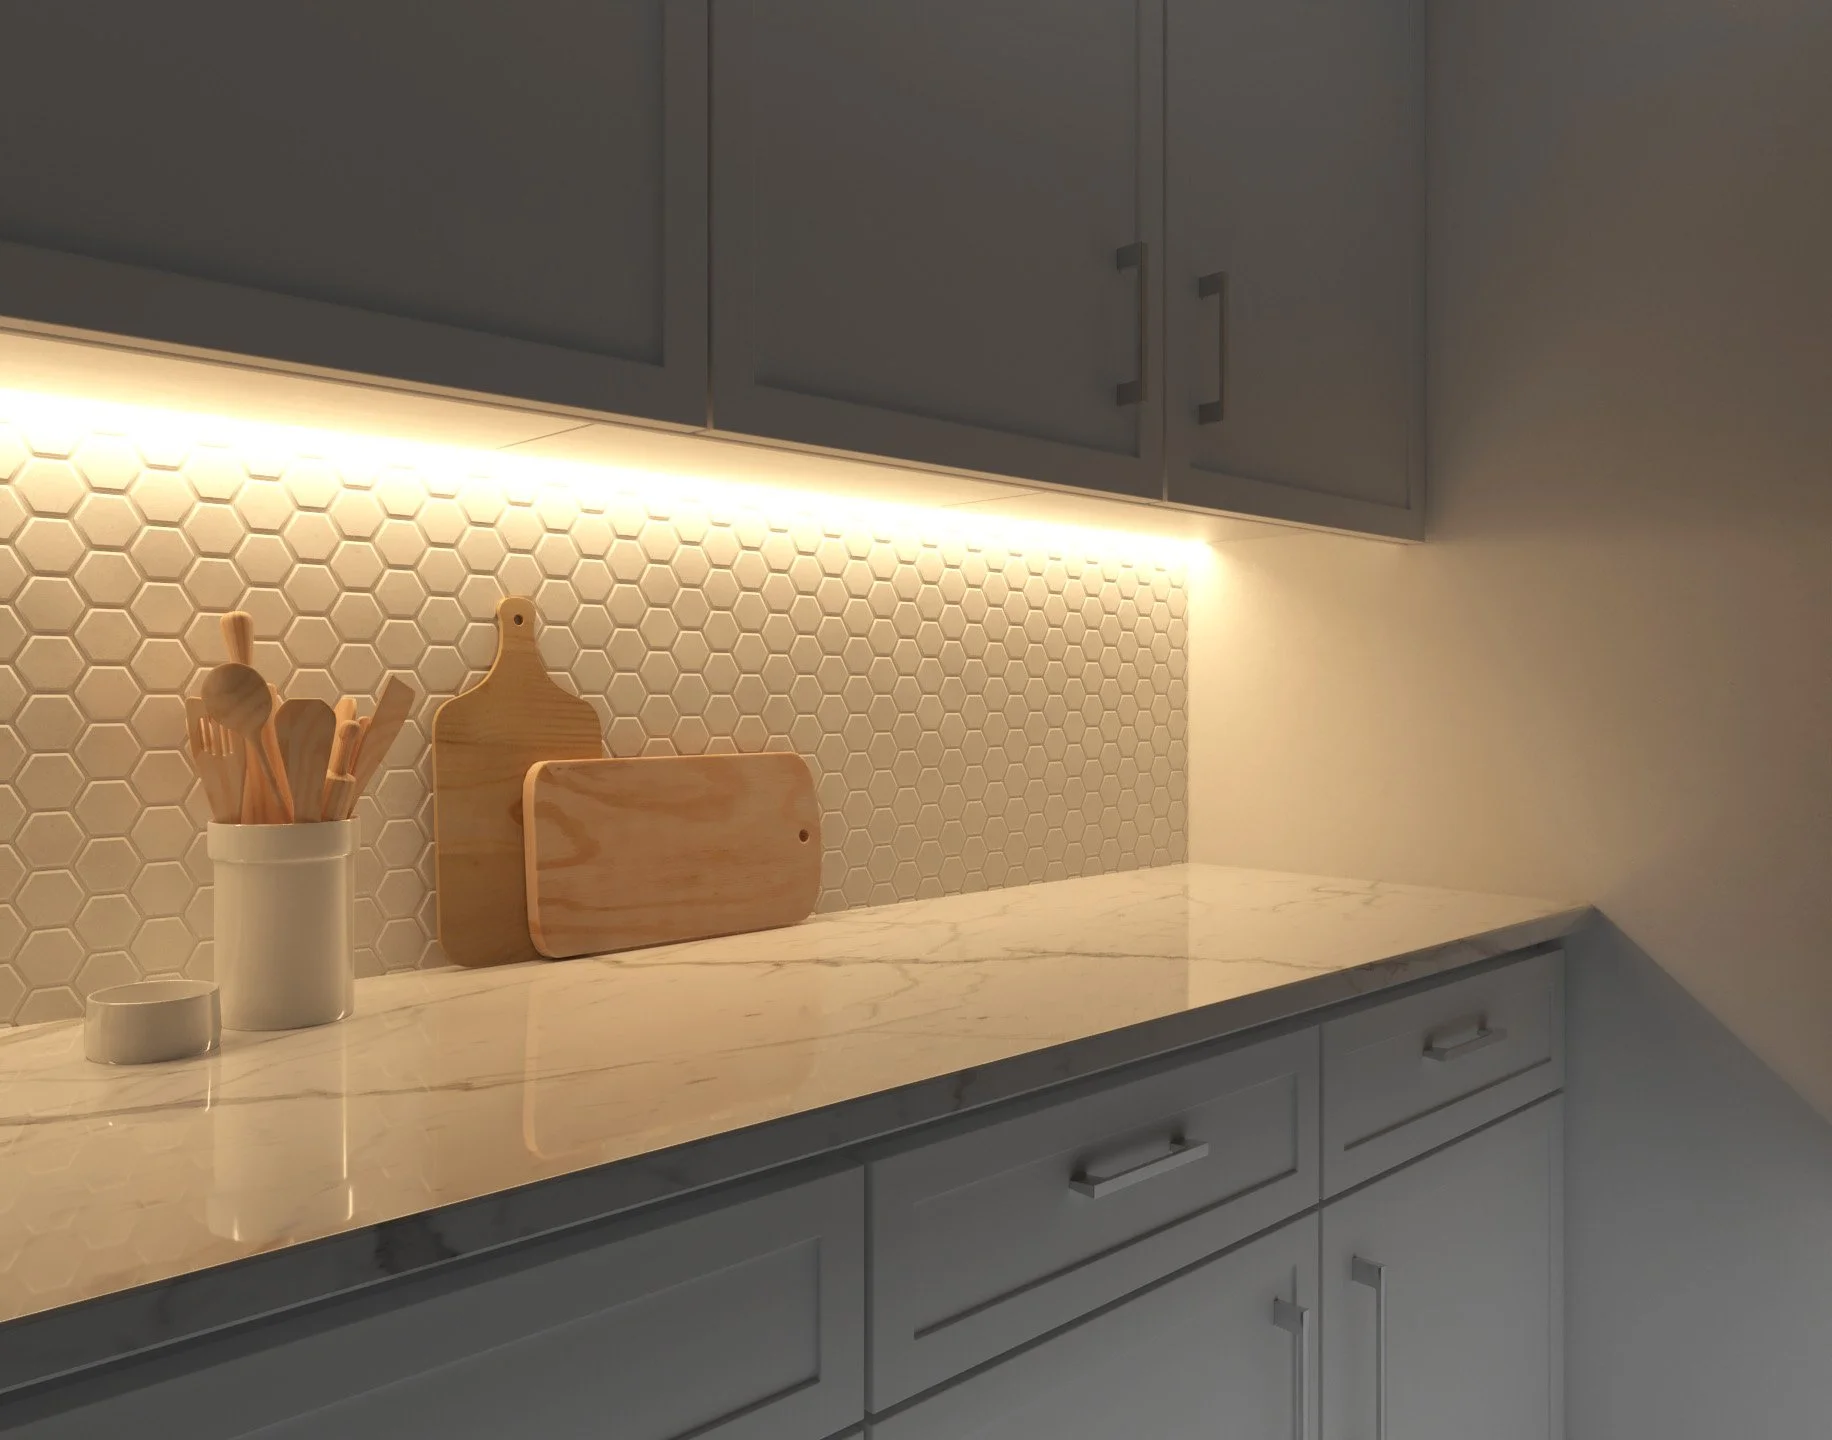
Task Lighting: Under-Cabinet Lighting That Works
Under-cabinet lighting is essential for functional, professional-grade kitchens. It eliminates shadows on countertops and provides both utility and ambiance. I realize I'm probably not breaking ground with the concept of under-cabinet lighting. Still, too often I see it executed with low-cost fixtures, exposed wires, no lensing, and poor color quality.
To really get under-cabinet lighting right, you have to make sure it's a hidden source of high-quality light that uses superb lensing.
Best Practices for Under-Cabinet Lighting:
Choose frosted lenses to minimize harsh reflections on glossy tile backsplashes
Position the light near the front edge of the cabinet for full counter coverage
Avoid bare LED diodes, which create distracting reflections and pixelation.
Well-designed task lighting ensures your counters are bright and usable—whether you’re meal prepping or enjoying a midnight snack. There are line voltage and low voltage fixtures for undercabinet lighting. Choosing which is right, really depends on the power situation in the kitchen.

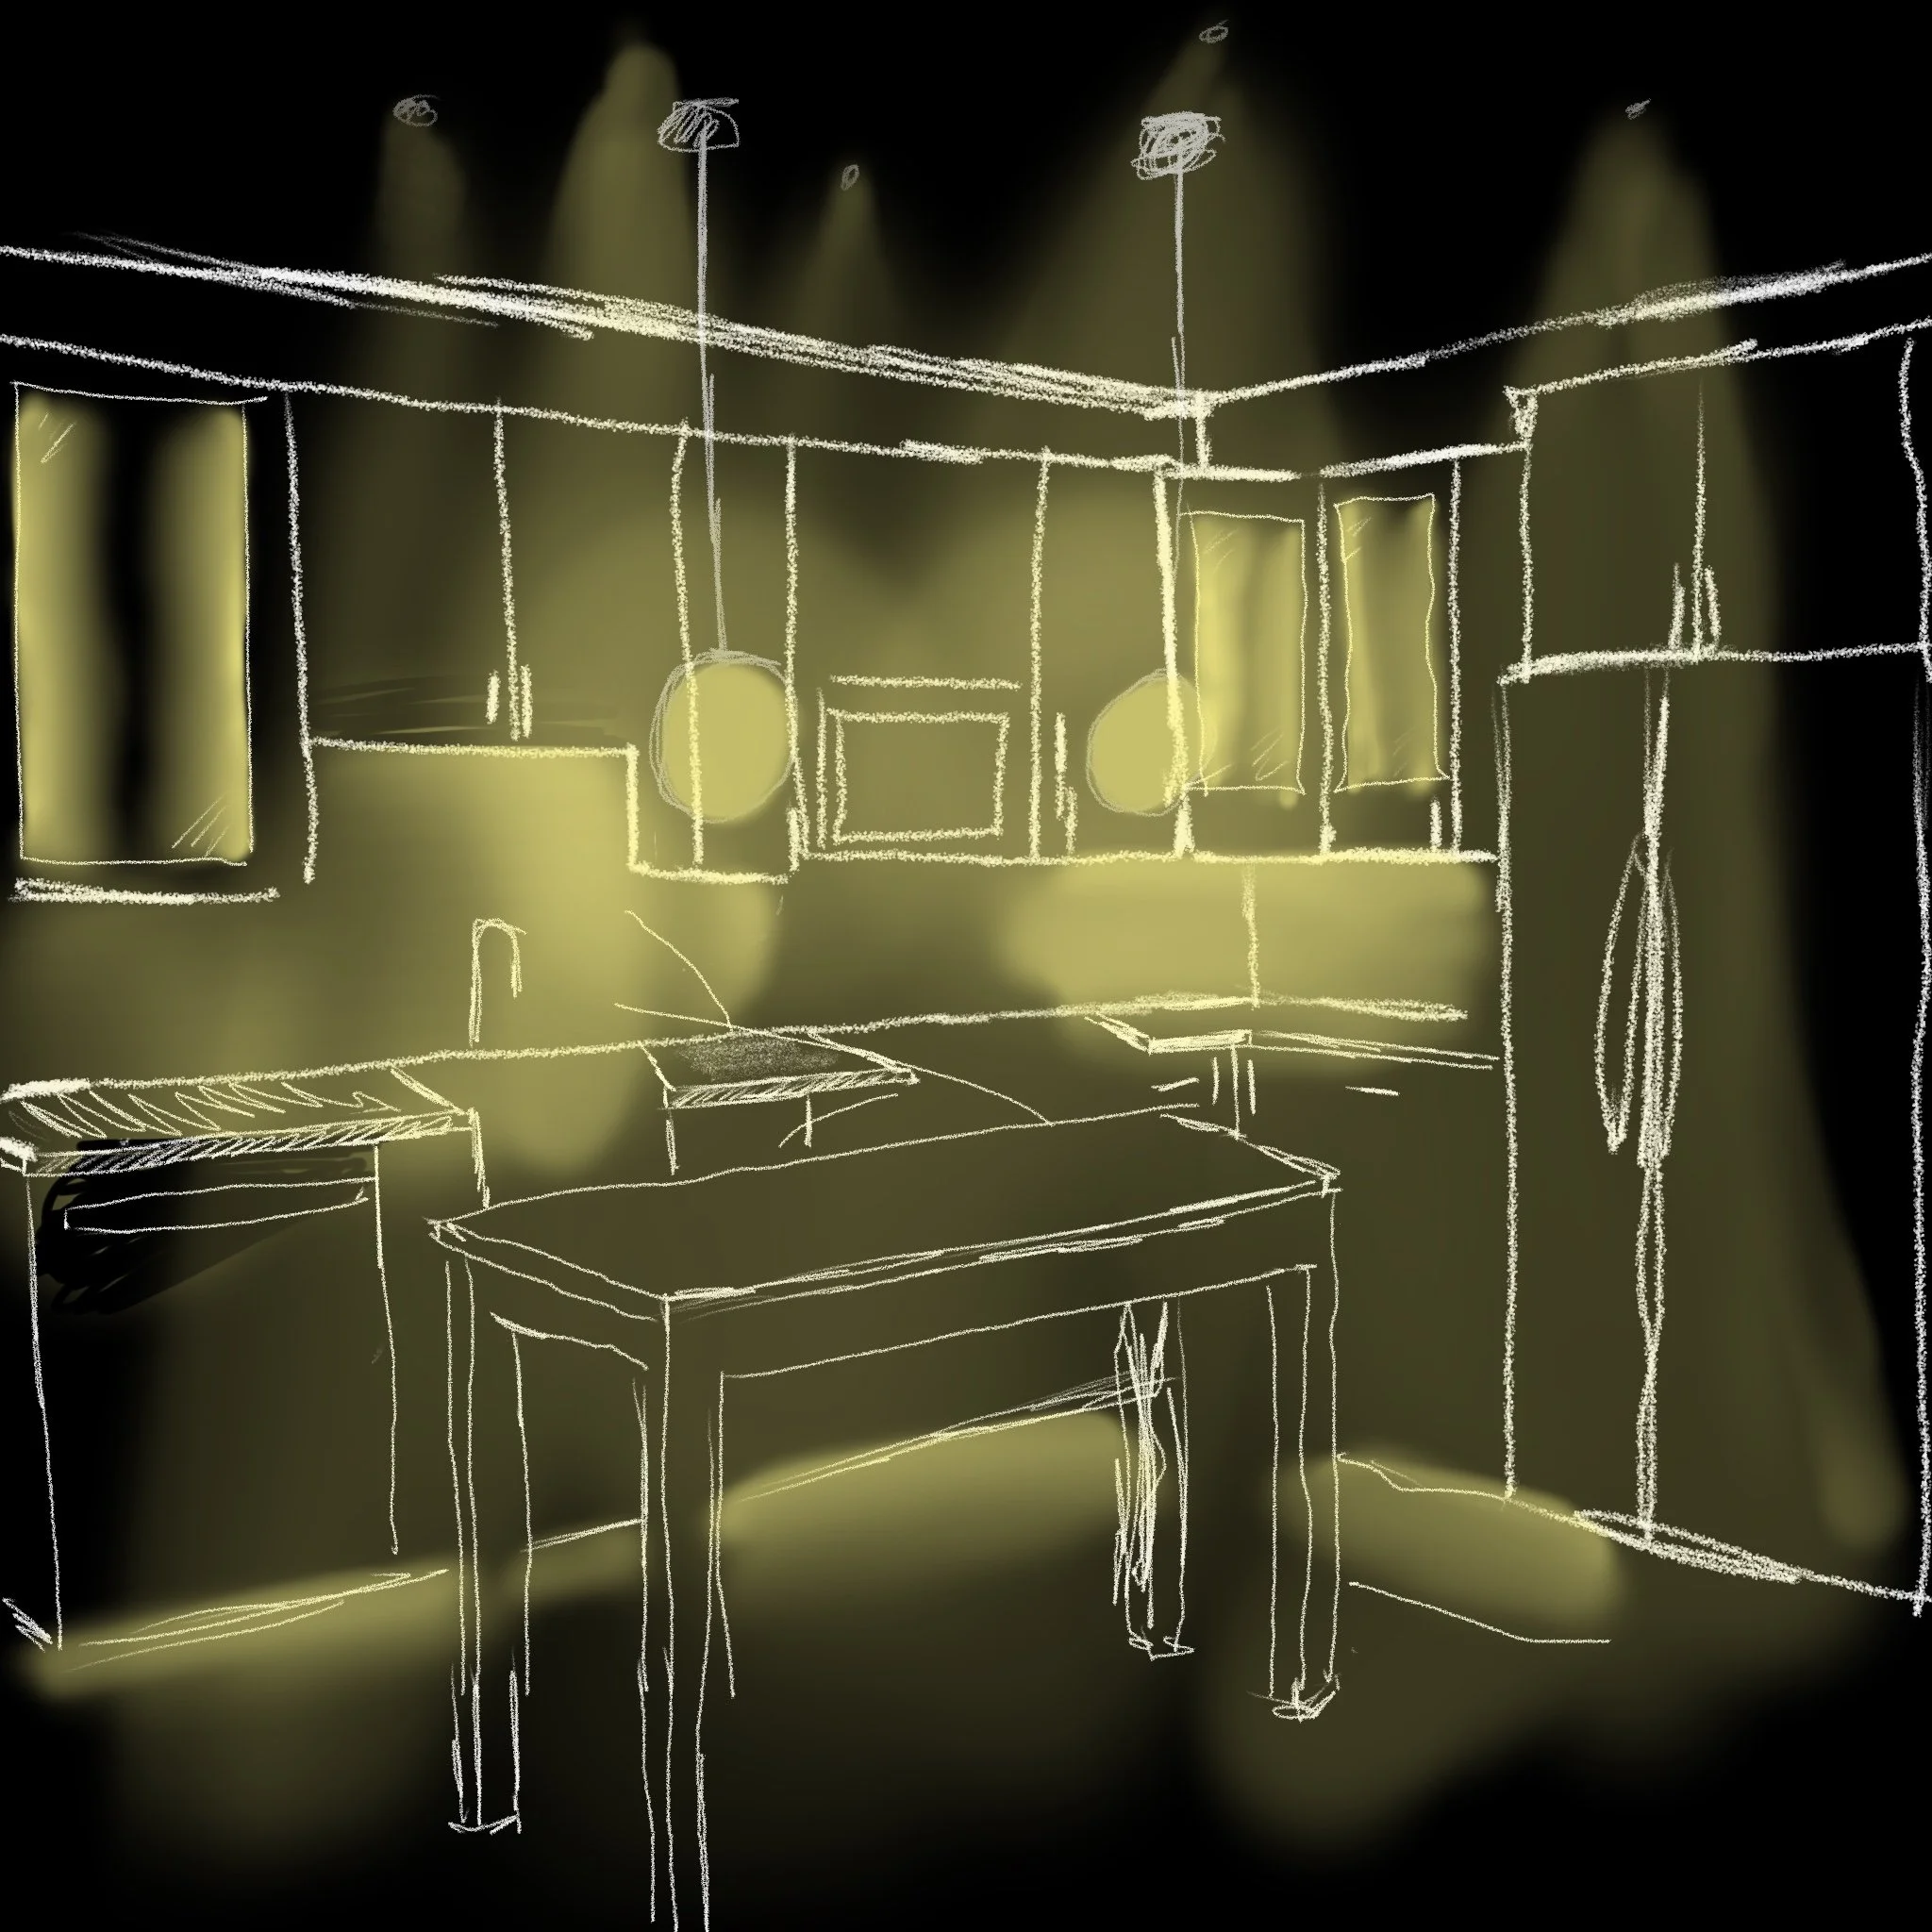
Under cabinet concept sketch
Under-cabinet down lighting
Under-cabinet backsplash wash
Under-cabinet backsplash graze
There are actually three different ways to accomplish under-cabinet lighting. So we have an entire article on creating great under-cabinet lighting - take a look here.
Don’t forget the toe-kick detail; this is a great way to make the cabinetry “float,” and it makes for a beautiful nightlight.
Toe-Kick Detail
This one elevates your kitchen from nicely lit to truly special. By adding a little toe kick light at the base of your cabinets, you make the cabinet seem to float off the floor. More importantly it creates a very elegant nightlight solution. This can be especially cool if you've invested in flooring that you're particularly proud of and want to show it off even in a dimmer setting.
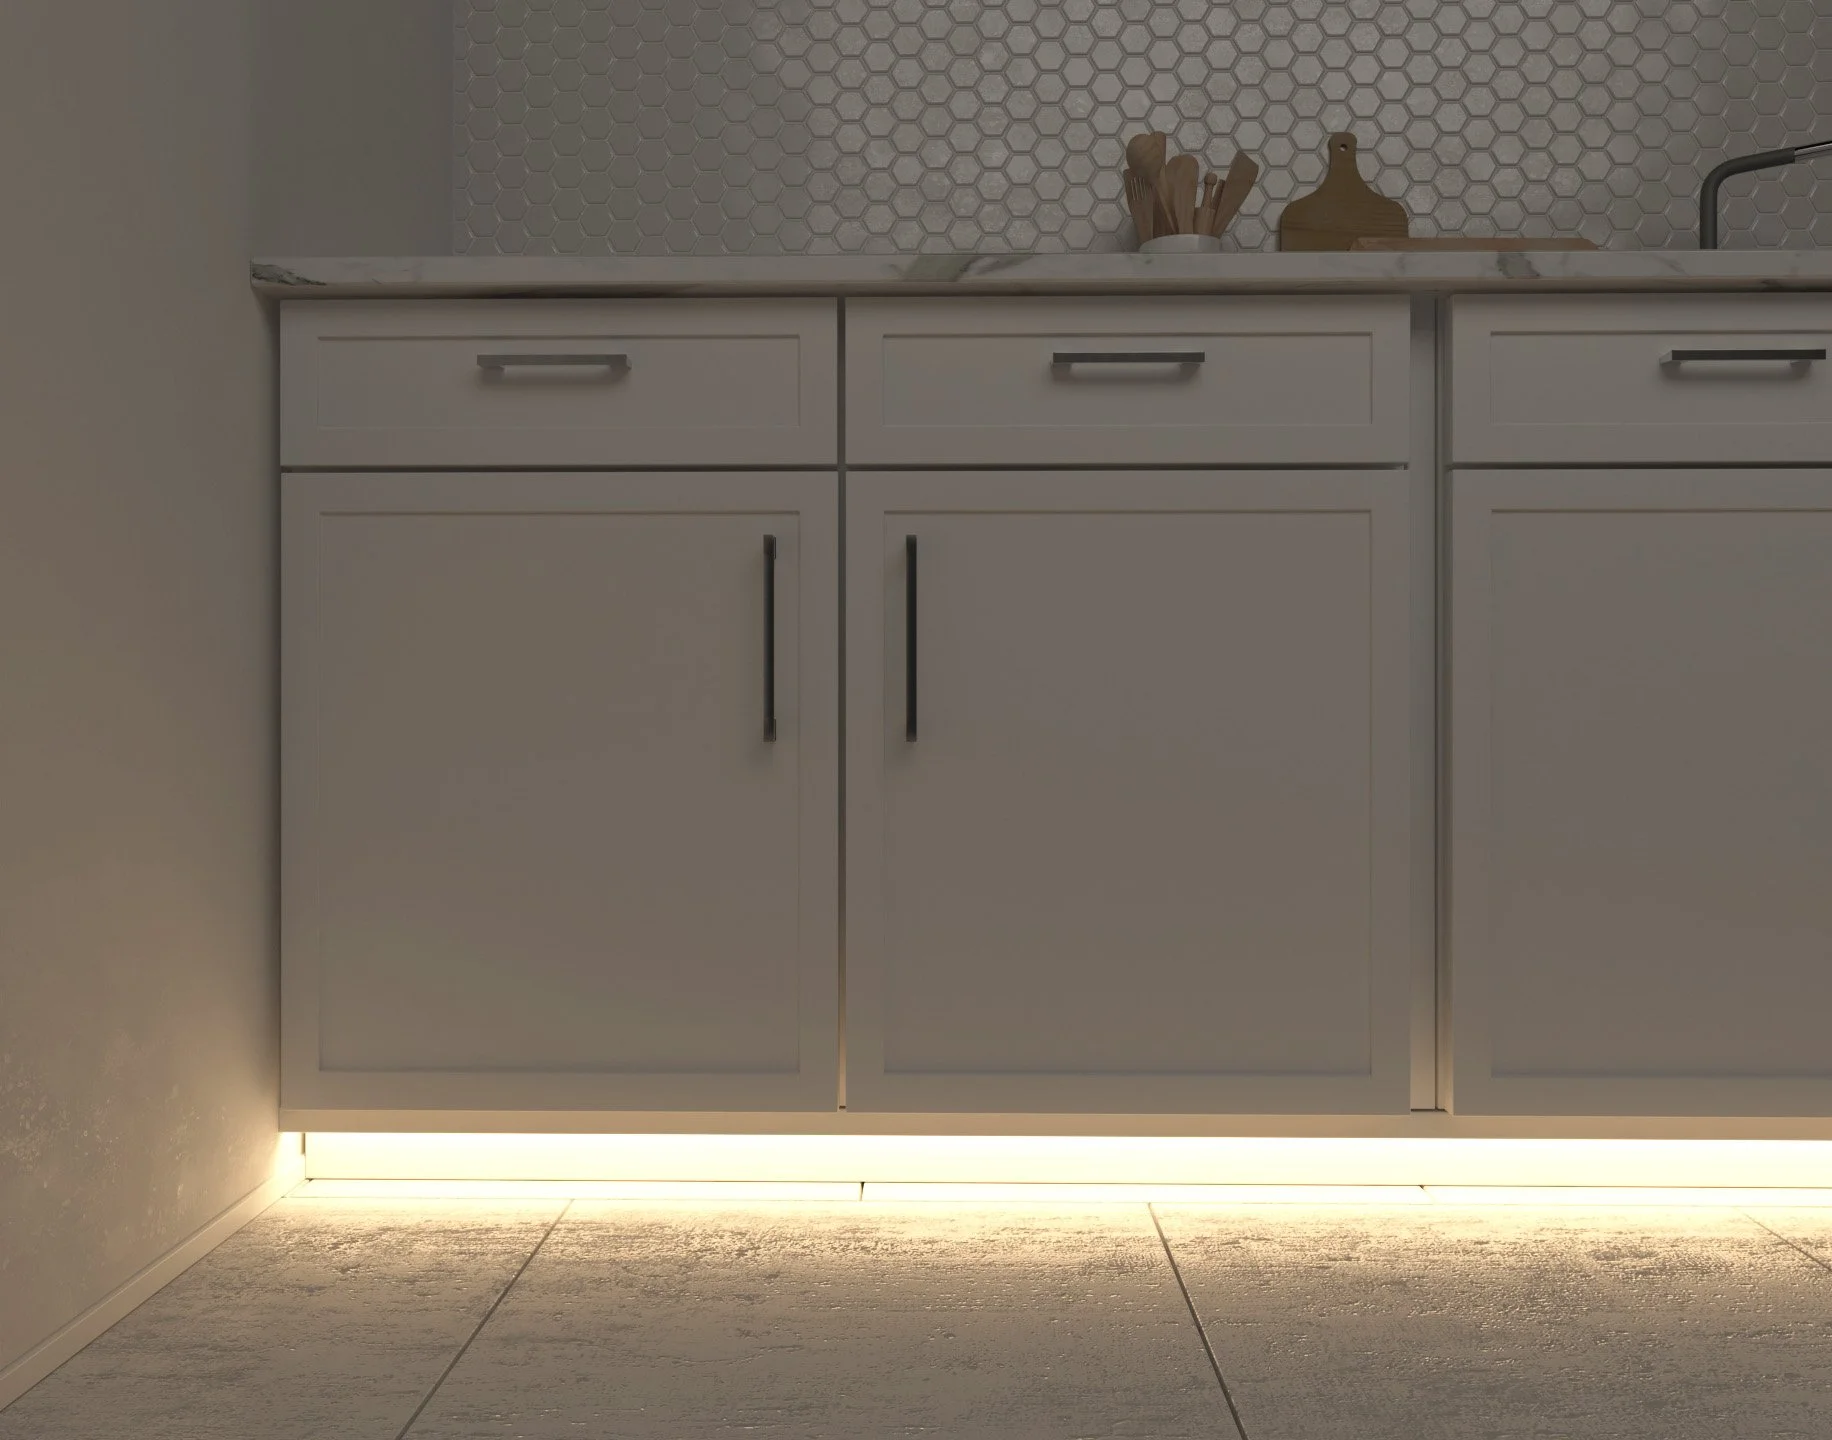
We have a product in our collection that we think is perfect for toe kick details like this….
Add Decorative Lighting for Sparkle and Vertical Illumination
This is the final layer of a great kitchen lighting plan—and it’s the one that makes the space come alive.
What do we mean by Sparkle?
The fixtures don’t need to sparkle literally (unless you’re into that). These are really just decorative sources that draw your eye. Think:
Pendant lighting over the kitchen island
Chandeliers
Wall sconces
These not only light the space but also add personality and elegance.

Gala by RBW

Barro by GrayPants
What is Vertical Illumination?

Vertical illumination refers to lighting that gently illuminates faces and vertical surfaces. It helps counteract the clinical feel of overhead-only lighting. Selecting pendants or chandeliers you love that cast a warm glow outward will cast soft light around the room, making the kitchen feel warm and inviting.
Pro-Tip for Creating Sparkle
You can also create sparkle by lighting glass-front cabinets to highlight dishware or décor. Just make sure to:
Use hidden linear LED strips
Avoid visible diodes
Coordinate installation with your cabinet maker or millworker

Why Dimming Is Essential for Kitchen Lighting
Even the most beautiful kitchen lighting setup will feel flat without dimming control.
Here’s why dimmers matter:
You’ll want brighter light in the morning, especially in winter months
Evening meals feel best under soft, warm light
Dimming lets you adjust each lighting layer—ambient, task, and sparkle—to fit your mood or activity
Whether you use traditional wall dimmers or a smart lighting system, the ability to fine-tune your kitchen’s lighting levels is what brings it all together.
Final Thoughts on Lighting Your Kitchen
A successful kitchen isn’t just about good appliances or beautiful tile—it’s about how it feels. Layered lighting brings warmth, function, and visual interest to your space.
To recap:
Use recessed lighting for your ambient layer
Choose thoughtful under cabinet lighting for task work
Add pendants, sconces, or cabinet lighting for sparkle and vertical glow
Always include dimming to control the mood
Designing a great kitchen lighting plan takes a little planning—but the results are worth it.